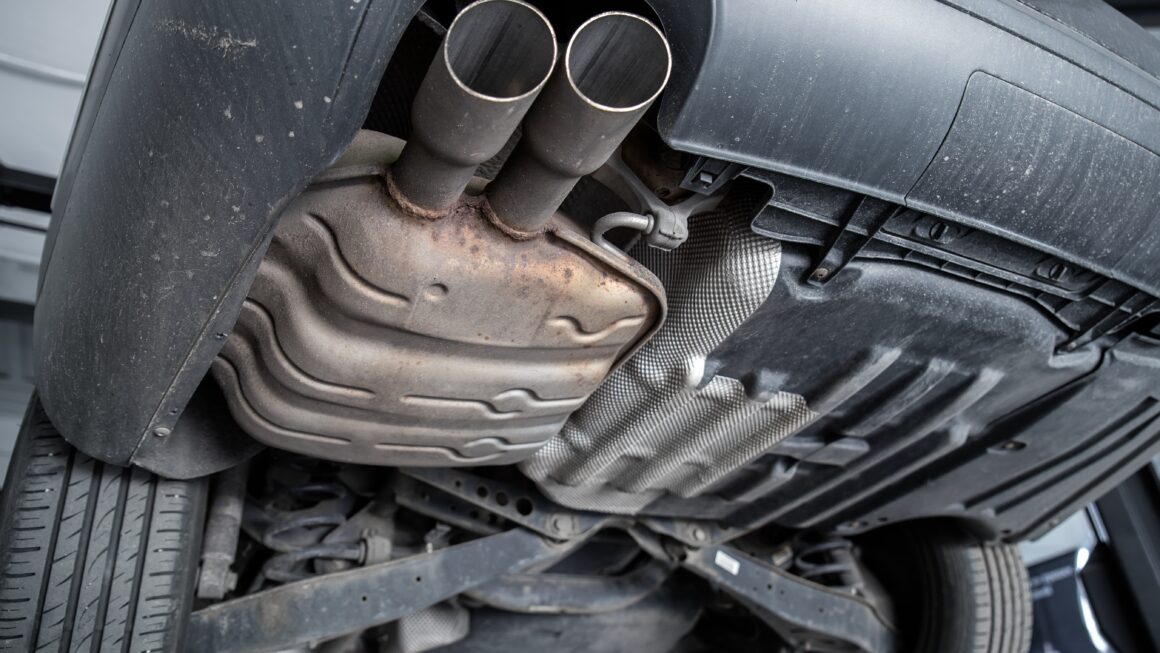
The diesel particulate filter (DPF) is an important component of a car’s exhaust system. It protects our planet from pollution by trapping harmful particulate matter in the car’s exhaust gases. The ash that accumulates in the DPF must be removed regularly in order to maintain its effectiveness and to avoid causing a failure of the exhaust system. In this article, we will explain step by step how to remove ash from a DPF.
How to remove ash from a DPF - a step-by-step guide
Step 1: Locate the DPF in your car
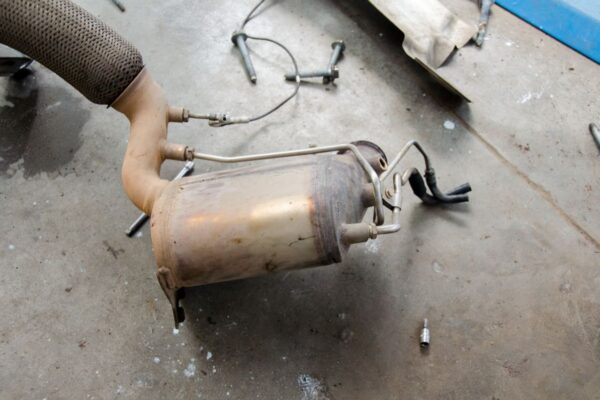
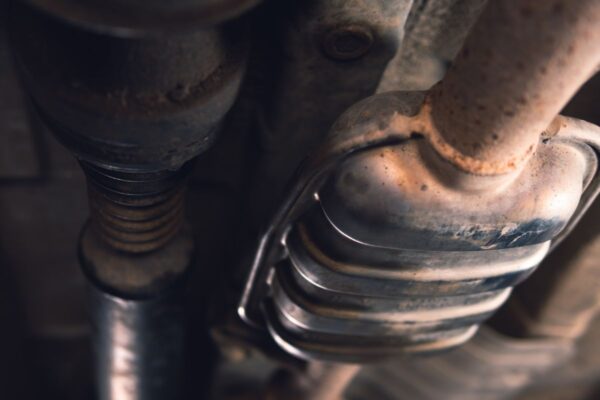
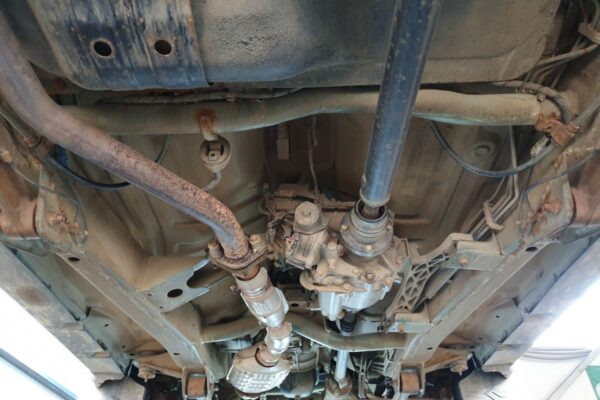
The DPF is usually located in the car’s exhaust system, typically between the engine and the catalytic converter. It can be identified by its characteristic shape and size. Check your car’s owner’s manual to find the exact location of the DPF.
Step 2: Wait for the engine to cool down
Before you begin removing ash from the DPF, you should wait until the engine has cooled down completely. The ash in the DPF can be hot and hazardous to your health, so you should avoid contact with it.
Step 3: Prepare your tools
To remove ash from the DPF, you will need tools such as protective gloves, safety goggles, a stiff wire brush, a compressed air hose, garbage bags, and a container for the ash.
Step 4: Remove the DPF from the car
To remove ash from the DPF, you must first take the filter out of the car. To do this, first turn off the engine and disconnect the battery. Then disconnect all the connectors that join the DPF to the rest of the exhaust system, and then remove the DPF from the car.
Step 5: Remove the ash from the DPF
To remove the ash from the DPF, you should first lay the filter flat so that the ash can be removed more easily.
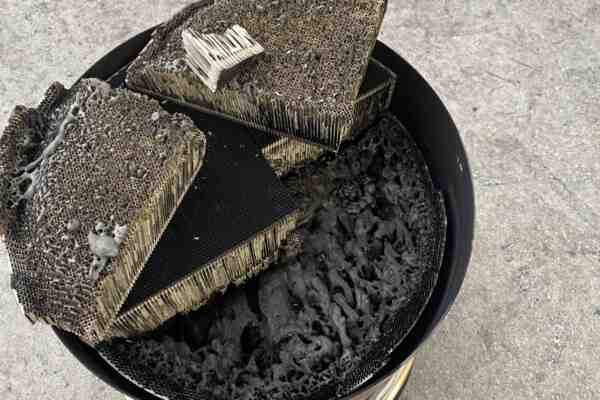
To remove the ash from the DPF, you should first lay the filter flat so that the ash can be removed more easily. Then use a stiff wire brush to remove any deposits and accumulated ash. If this proves difficult, you can use a compressed air hose to flush the filter and remove the accumulated deposits.
Step 6: Remove the ash from the container
After removing the ash from the DPF, you should place it in the ash container. Make sure the container is clean and roomy enough to hold all the ash from the filter.
Step 7: Put the filter back in the car
After removing the ash from the DPF, you should put the filter back in the car. To do this, connect all the connectors that join the DPF to the rest of the exhaust system, and then secure the filter in the car.
Step 8: Start the engine
After putting the filter back in the car, you should start the engine and check that everything is working properly. Check that there are no leaks and that the exhaust system is functioning correctly.
How often should you remove ash from a DPF?
You should remove ash from the DPF regularly, usually about every 80,000 km or once every 2 years. However, you should check your car’s owner’s manual, as different models may have different requirements for cleaning the DPF.
Is removing ash from a DPF dangerous?
Removing ash from a DPF can be dangerous if the proper safety procedures are not followed. You should wear protective gloves and safety goggles to avoid contact with the ash. Removing ash from the DPF is an important part of car maintenance. It should be done regularly to ensure that the filter works properly and protects our planet from pollution.
If you are not sure how to remove ash from a DPF, it is better to seek help from a specialist. However, if you decide to remove the ash yourself, remember to follow the proper safety procedures, such as wearing protective gloves and safety goggles. Removing ash from a DPF can be a difficult task, but by doing it correctly you can maintain the filter’s effectiveness and help protect the environment.
Remember that removing ash from a DPF is an important part of car maintenance and should be carried out regularly. By doing so, you will protect your car and help protect the environment.